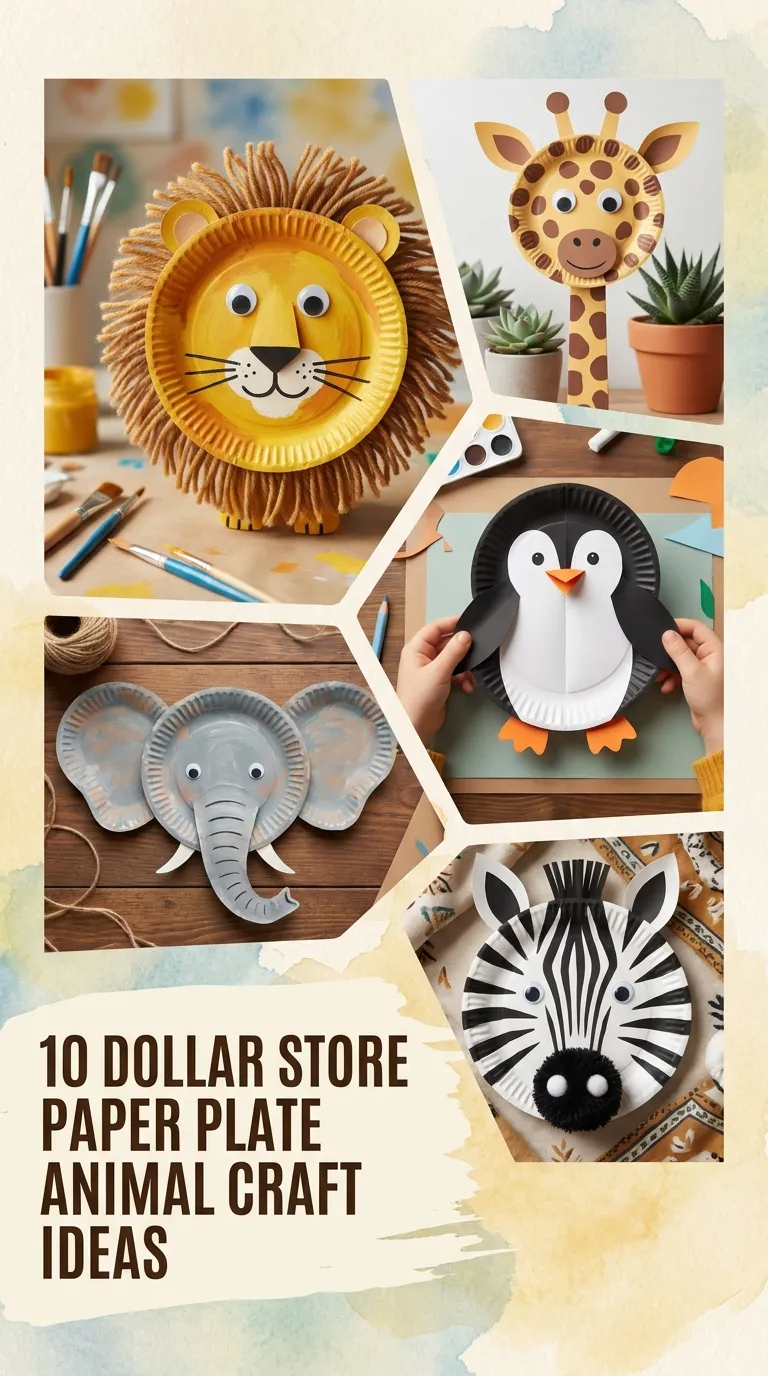
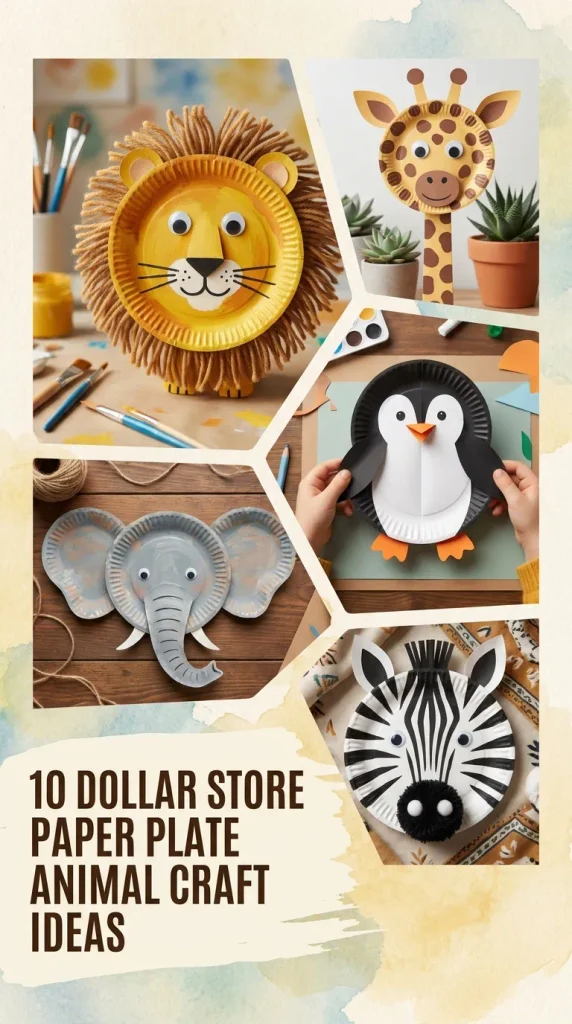
Crafting with kids does not have to drain your wallet or require complicated supplies. In fact, a single pack of plain white paper plates from the dollar store can easily transform into an entire safari, ocean habitat, or barnyard adventure. Paper plates are lightweight, durable, easy to cut, and hold paint and glue exceptionally well, making them the ultimate canvas for budget-friendly art projects at home, in preschools, or during rainy afternoon playdates.
Below are 10 creative, low-cost paper plate animal craft ideas that spark fine motor skills, encourage imaginative storytelling, and use affordable dollar store basics like washable paint, googly eyes, construction paper, and cotton balls.
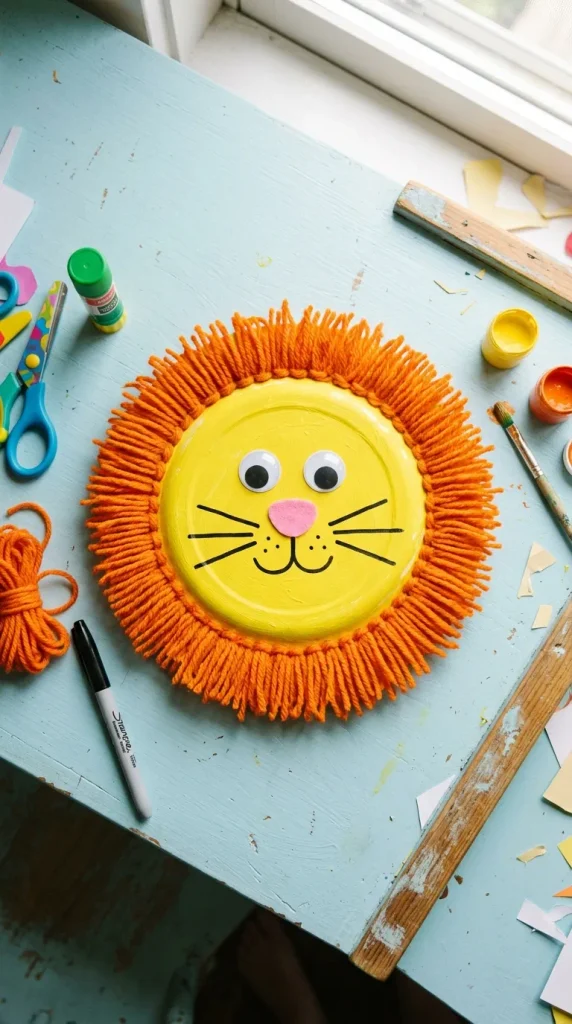
1. The Textured Paper Plate Lion
The classic lion craft brings regal flair to simple paper goods while giving little hands practice with cutting and gluing.
- Supplies: Plain paper plate, yellow and brown washable paint, orange yarn or yellow pasta noodles, googly eyes, black marker, glue.
- Step-by-Step:
- Paint the entire surface of the paper plate golden yellow and let it dry completely.
- Cut short strands of orange and brown yarn (about two inches each). Alternatively, use dry rotini or penne pasta painted orange.
- Run a generous ring of school glue along the outer rim of the plate.
- Press the yarn strands or pasta into the glue around the entire rim to form a full, fluffy lion’s mane.
- Glue two large googly eyes in the center, paint a black triangle nose, and draw simple whiskers extending toward the edges.
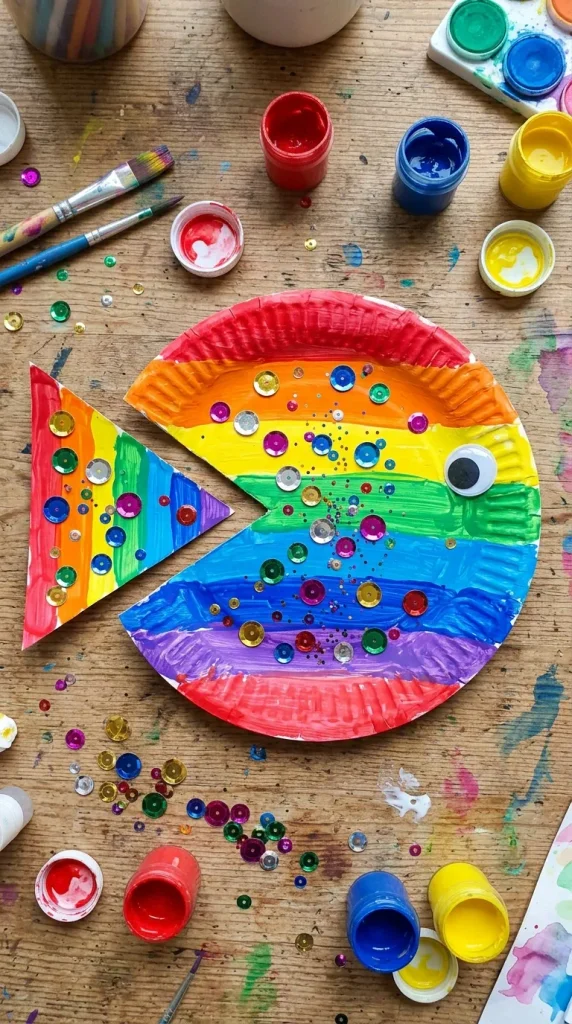
2. Cut-Out Tropical Fish
This craft teaches negative space and simple geometry: the piece you cut out for the fish’s mouth becomes the rear tail fin.
- Supplies: Paper plate, bright tempera paints or markers, glitter glue or sequins, large googly eye, scissors, glue stick.
- Step-by-Step:
- Cut a small triangular wedge (about 60 degrees) out of one edge of the paper plate. This creates an open fish mouth.
- Take the cut-out triangle, flip it horizontally, and glue it to the opposite side of the plate to serve as the tail fin.
- Paint the body in bold tropical stripes or bright rainbow patterns.
- Dab dots of glitter glue or stick on shiny sequins to mimic shimmering fish scales.
- Affix a giant googly eye right above the mouth.
3. Fluffy Cotton Ball Sheep
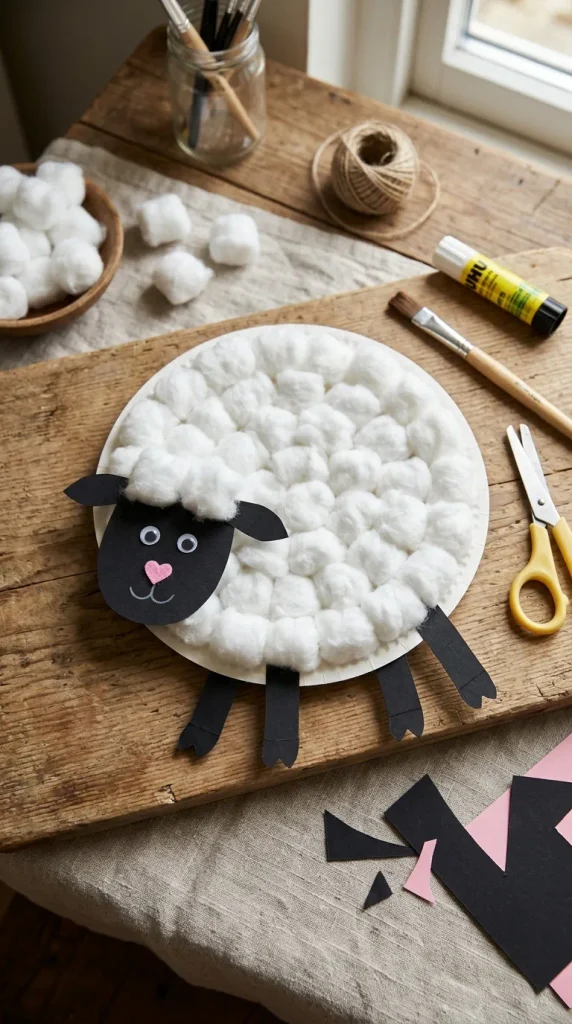
This sensory-rich craft is ideal for toddlers and preschoolers who love working with tactile, pillowy materials.
- Supplies: Small or standard paper plate, bag of white cotton balls, black construction paper, white crayon or chalk, craft glue.
- Step-by-Step:
- Cover the center basin and inner rim of the paper plate with a thick coat of liquid craft glue.
- Gently stretch cotton balls slightly to fluff them up, then press them onto the plate until the surface resembles a thick wool fleece.
- From black construction paper, cut out an oval head shape, two floppy teardrop ears, and four rectangle legs.
- Glue the ears to the head, add white crayon eyes or sticky googly eyes, and glue the head directly onto the top center of the cotton wool body.
- Secure the four legs peeking out from beneath the bottom rim.
4. Swirling Spiral Snake
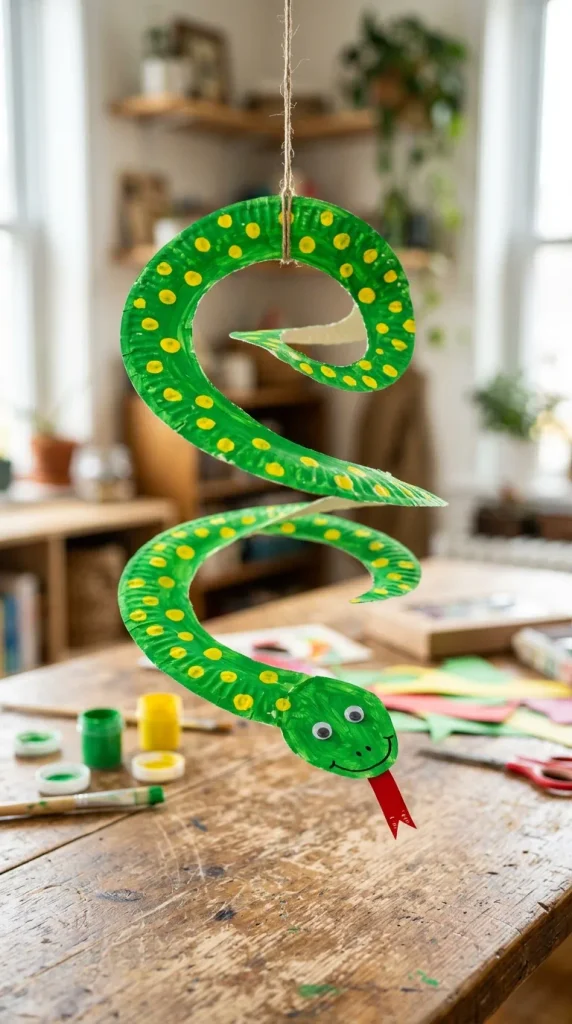
This dynamic kinetic craft turns a flat disc into a three-dimensional, bouncy hanging decoration.
- Supplies: Paper plate, green/red/yellow paint, dot markers, scissors, red ribbon or paper strip, string.
- Step-by-Step:
- Paint the bottom side of the plate in vibrant reptilian colors using sponge brushes or dot markers for a scaly texture.
- Once dry, use child-safe scissors to cut in a continuous spiral from the outer edge toward the center, leaving a two-inch rounded circle in the middle for the head.
- Draw eyes on the center head and glue a tiny fork-tongued red ribbon beneath it.
- Punch a hole near the head, tie a hanging thread, and suspend the snake to watch it spiral down and dance in the air.
5. Accordion-Fold Paper Plate Peacock
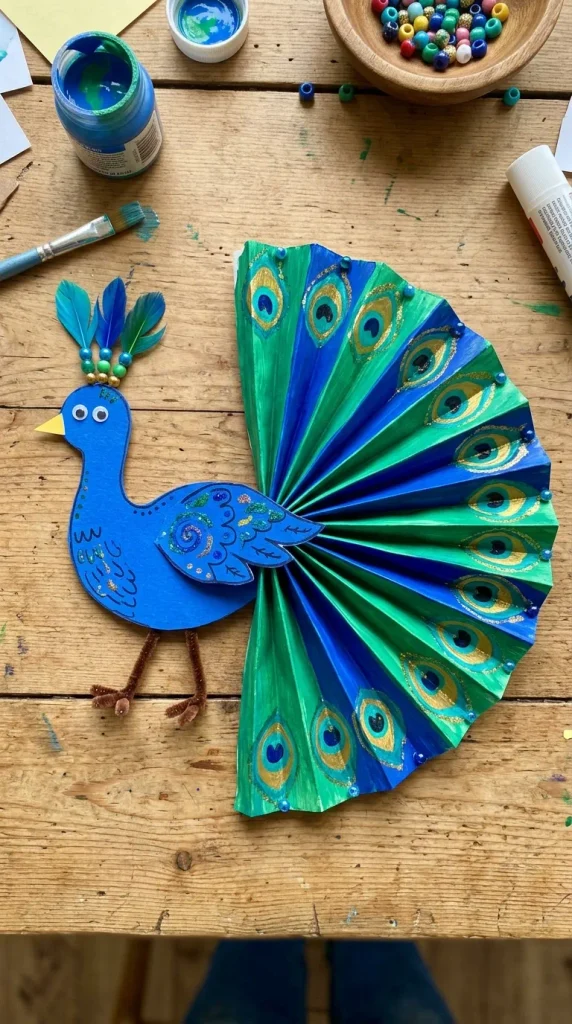
The peacock combines simple folding with vibrant jewel-toned colors to create a striking standing display.
- Supplies: Two paper plates, blue, green, and turquoise paint, yellow cardstock, glue, scissors.
- Step-by-Step:
- Paint the first paper plate in brilliant teal, emerald, and gold strokes to form the tail fan.
- Once dry, fold this plate accordion-style back and forth in one-inch pleats, then fan it outward.
- Cut a bowling-pin shape from the second plate (or blue cardstock) to serve as the peacock’s head and slender neck.
- Glue the fanned tail behind the blue body.
- Add a small yellow triangular beak and draw dramatic crest feathers on top of the head.
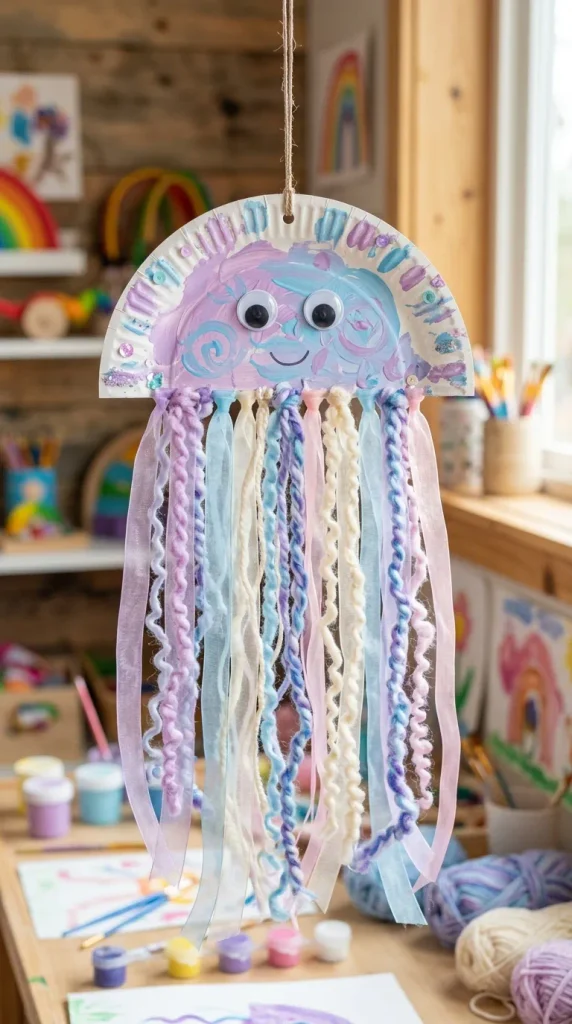
6. Wobbly Ribbon Jellyfish
Perfect for an ocean habitat unit, this jellyfish adds motion and playful texture to any bedroom ceiling or classroom wall.
- Supplies: Paper plate cut in half, watercolor paints, assorted dollar store ribbons, yarn, crepe paper streamers, tape.
- Step-by-Step:
- Cut a paper plate directly in half to create the curved dome bell of the jellyfish.
- Paint the dome with blended pastel watercolors (pinks, purples, and blues) and let it dry.
- Cut varying lengths of ribbon, curling ribbon, sheer lace, and yarn (around 10–14 inches long).
- Flip the painted dome over and tape or glue the ribbon tentacles along the flat bottom edge.
- Add two large googly eyes on the front curved dome and hang from a ceiling string.
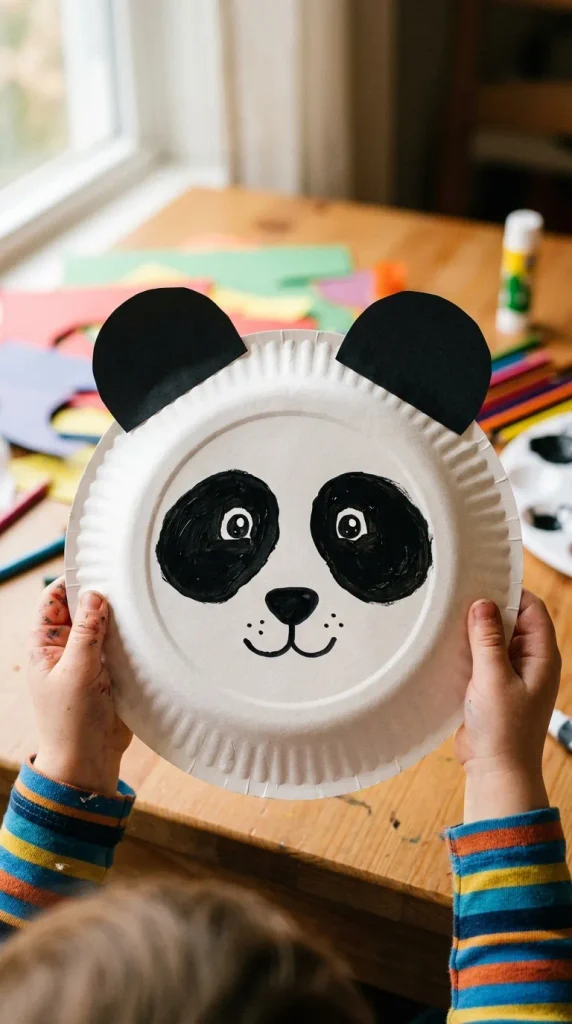
7. Gentle Paper Plate Panda
Minimalist yet undeniably charming, this project uses everyday household contrast to create a recognizable zoo favorite.
- Supplies: White paper plate, black acrylic/tempera paint, black construction paper, scissors, glue.
- Step-by-Step:
- Keep the main white plate unpainted for the panda’s crisp white face.
- Paint two large black tilted oval patches in the upper-middle section of the plate for the eye patches.
- Cut out two semicircles from black construction paper and glue them to the top rim for ears.
- Glue googly eyes inside the black painted eye ovals.
- Paint a soft black inverted triangle nose and a sweet curved smile beneath.
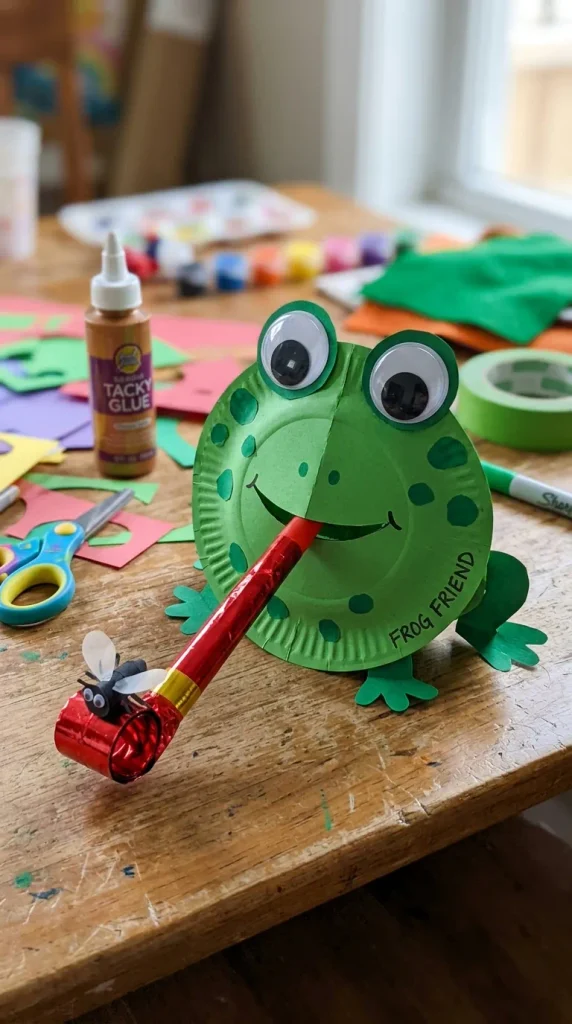
8. Fly-Catching Frog with Extendable Tongue
This interactive craft doubles as an entertaining physical game that kids can play after building.
- Supplies: Paper plate, green paint, red party blower (or red yarn attached to a paper fly), green construction paper, googly eyes, stapler.
- Step-by-Step:
- Paint the entire bottom of the plate bright green.
- Fold the paper plate in half with the painted side facing out to create a wide frog mouth.
- Make a small puncture in the crease and insert the mouthpiece of a red party blower through the center.
- Cut two green circles and fold the bottom tabs to glue them onto the top rim as elevated frog eyes.
- Glue a small black paper cutout of a fly to the end of the blower so it “catches” the insect when blown.
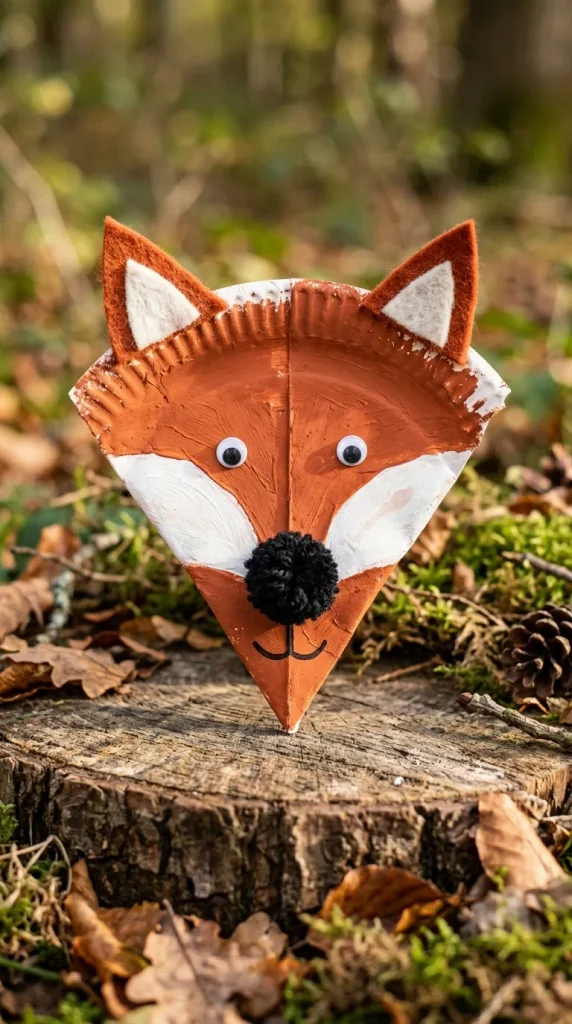
9. Rustic Woodland Fox
Using sharp triangular cuts and rich autumnal tones, this woodland fox makes an adorable seasonal decorative piece.
- Supplies: Paper plate, burnt orange paint, white paper or paint, black pom-pom, scissors, glue.
- Step-by-Step:
- Paint the entire plate warm autumn orange.
- Fold both sides of the plate inward toward the center to form a pointed triangle shape at the bottom (the snout).
- Paint the two folded-in flaps white to represent the fox’s snowy cheeks.
- Cut two orange triangles from leftover plate scraps and attach them to the top corners for alert ears.
- Glue a fuzzy black pom-pom right onto the pointed snout tip for the nose and draw closed sleepy eyes with black marker.
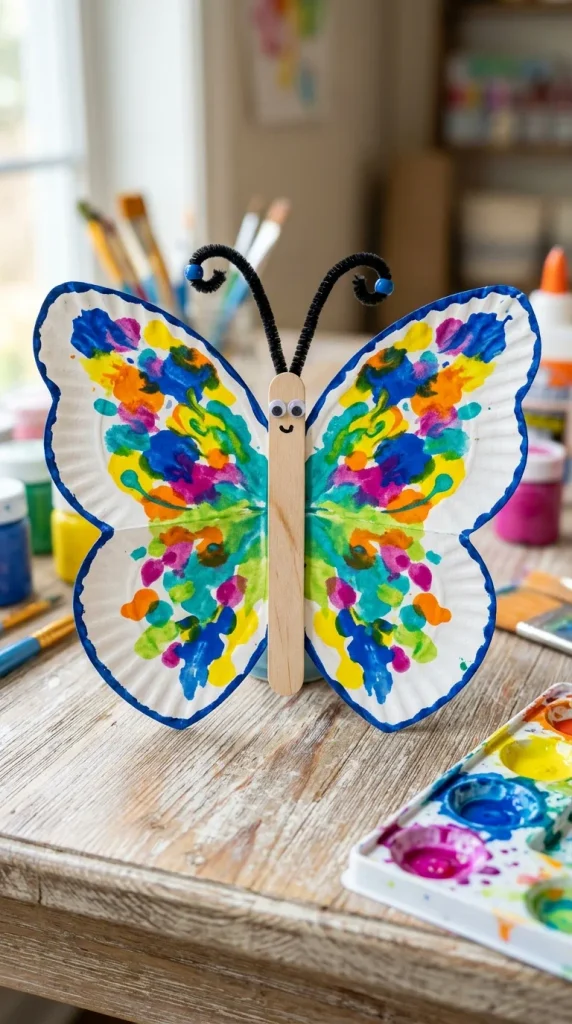
10. Symmetric Wing Butterfly
This project introduces symmetry and color mixing through a satisfying “paint and smash” technique.
- Supplies: Paper plate, multiple colors of washable paint, pipe cleaner, wooden clothespin or craft stick, scissors.
- Step-by-Step:
- Squeeze droplets of different colored paint across only one half of the plate.
- Fold the plate firmly in half and press down gently to transfer the paint evenly to the other side.
- Unfold to reveal a mirrored symmetrical pattern, then let it dry.
- Cut two gentle curves along the sides to shape the plate into butterfly wings.
- Glue a painted wooden craft stick or clothespin down the center fold for the body, and twist a pipe cleaner around the top for curly antennae.