Ombre French nails are a modern twist on the timeless French manicure. Instead of a sharp contrast between the tip and the base, this style blends colors seamlessly, creating a soft gradient effect that looks elegant and eye-catching. Whether you prefer subtle neutrals or bold colors, ombre French nails offer endless creative possibilities. Below are ten stunning ideas to inspire your next manicure.
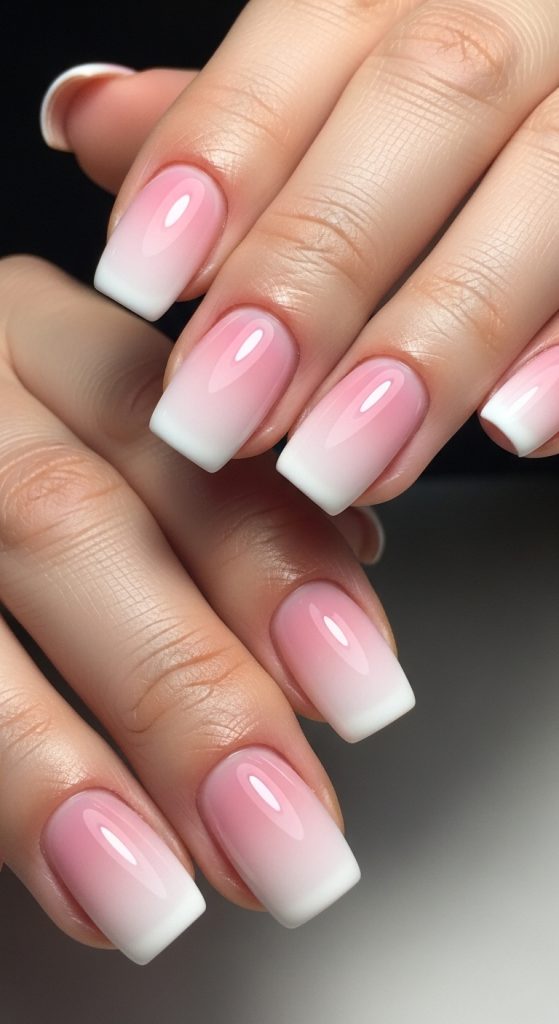
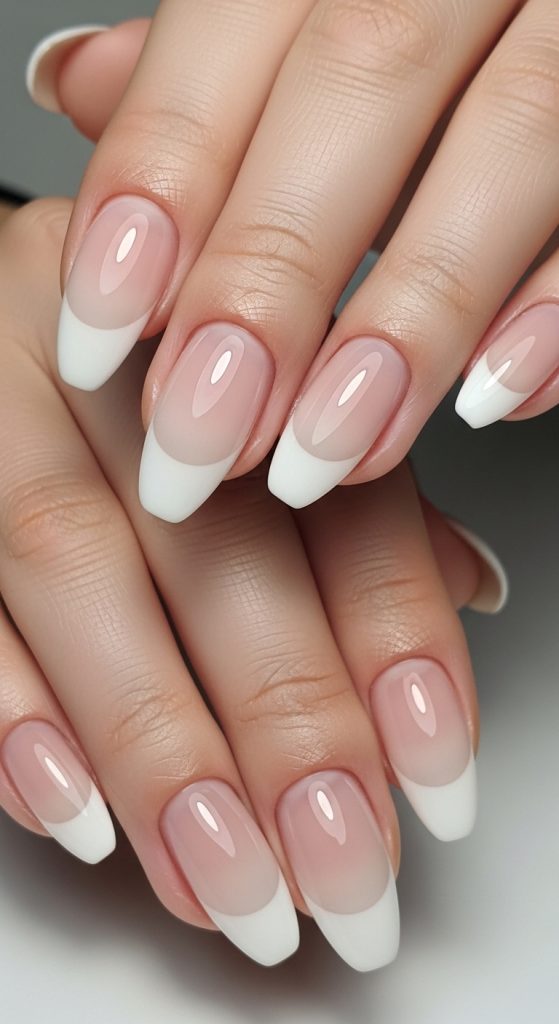
1. Classic Pink to White Ombre
The most popular variation of ombre French nails is the soft pink-to-white gradient. This look mimics the natural nail bed and transitions into a clean white tip. It’s perfect for weddings, formal events, or anyone who loves a polished, sophisticated appearance. The smooth blend makes the nails look longer and more refined.
2. Nude to Milky White Blend
For a minimalist aesthetic, try a nude base fading into a milky white tip. This style is subtle yet chic, making it ideal for everyday wear. It complements all skin tones and pairs beautifully with both casual and professional outfits.
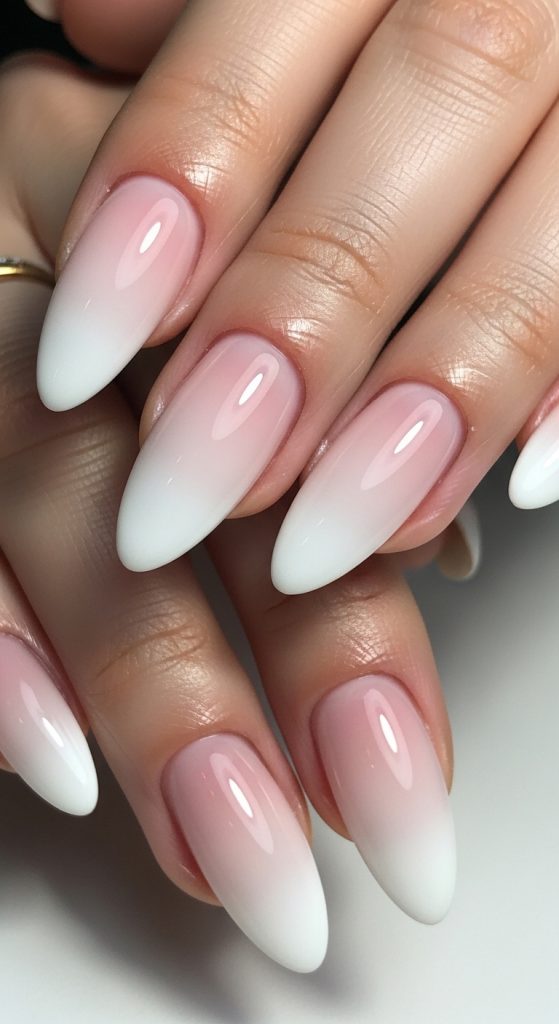
3. Baby Boomer Nails
Also known as “French fade,” baby boomer nails are a softer, more diffused version of the traditional French manicure. The gradient is extremely smooth, almost airbrushed, giving a delicate and natural finish. This design is perfect if you want something understated but stylish.
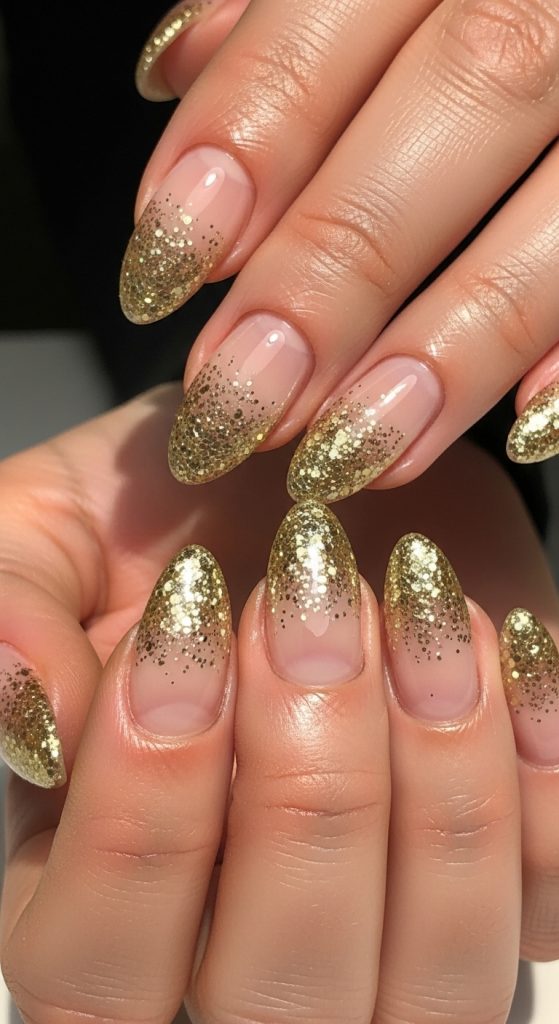
4. Glitter Ombre French Tips
Add a touch of sparkle by incorporating glitter into your ombre French nails. Start with a neutral base and blend into a glittery tip using silver, gold, or rose gold. This design is perfect for parties, holidays, or whenever you want your nails to stand out.
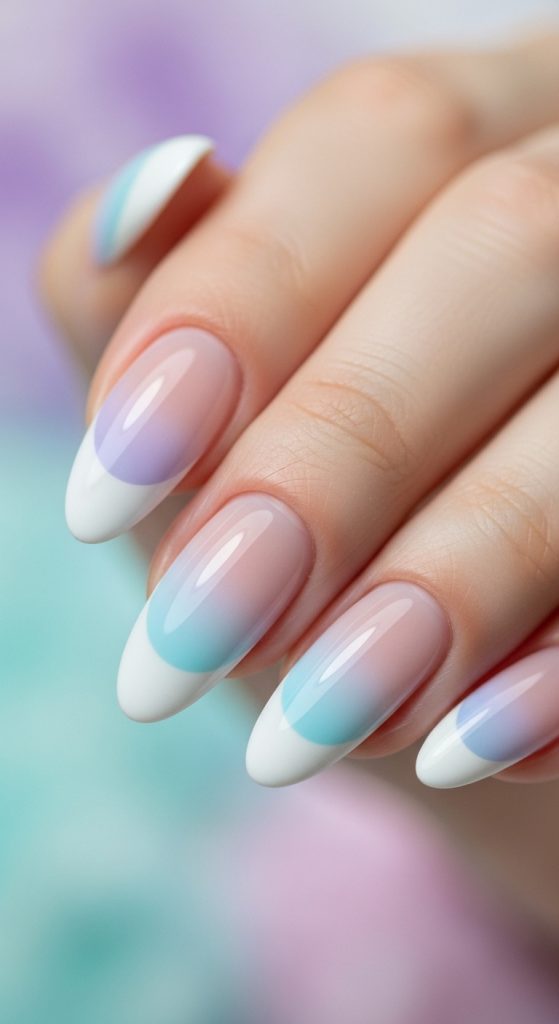
5. Pastel Ombre French Nails
Pastel shades like lavender, mint green, baby blue, or peach can create a dreamy ombre effect. Blend a soft pastel into a sheer or white base for a fresh and playful look. This style works especially well in spring and summer.
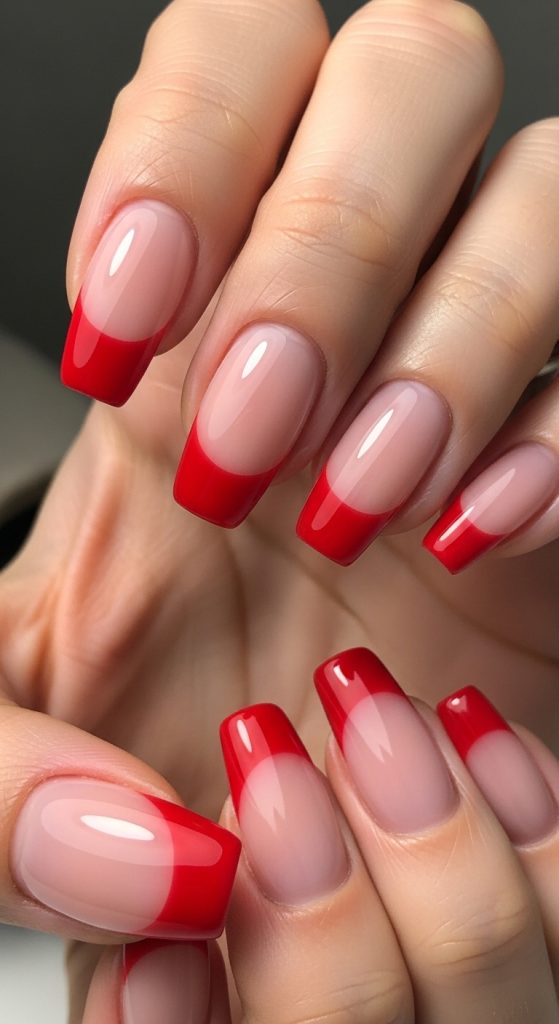
6. Bold Color Ombre Tips
If you love vibrant nails, experiment with bold colors like red, cobalt blue, or neon pink. Instead of the traditional white tip, fade a bright color into a neutral or transparent base. This creates a striking contrast while still maintaining the elegance of a French manicure.
7. Reverse Ombre French Nails
Flip the classic style by placing the gradient near the cuticle instead of the tip. For example, start with a darker shade at the base and fade into a lighter color toward the tip. This unexpected design adds a modern edge to your nails.
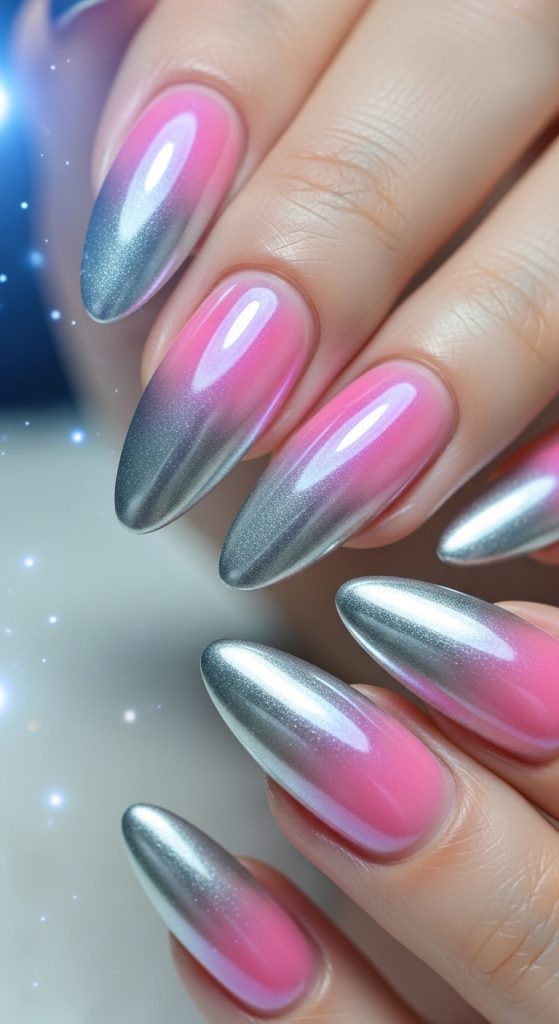
8. Chrome Ombre French Nails
Chrome finishes bring a futuristic shine to ombre nails. Blend a metallic chrome tip into a soft base for a sleek and glamorous look. Silver chrome on a pale pink base is especially popular for a high-fashion vibe.
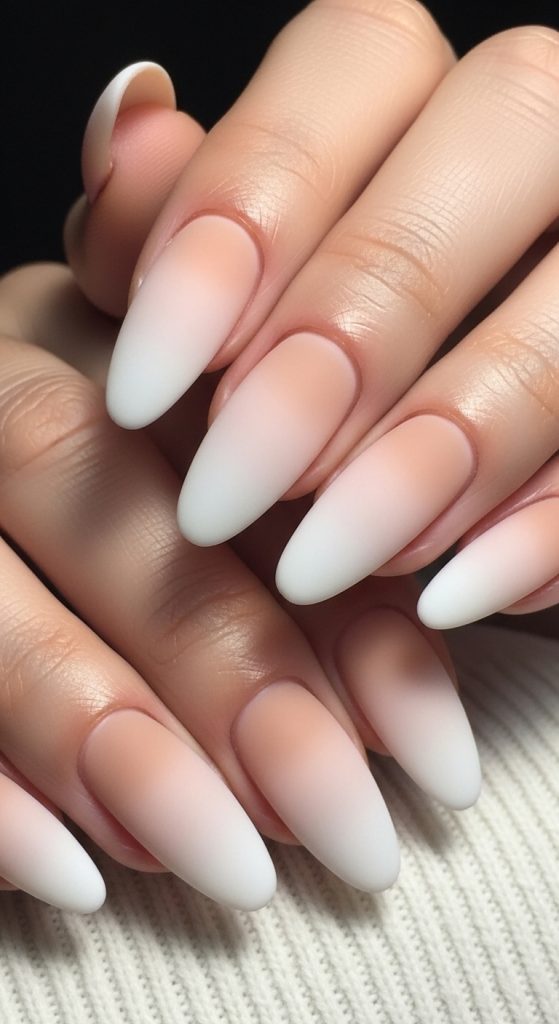
9. Matte Ombre French Nails
Switch things up by using a matte top coat instead of a glossy finish. Matte ombre nails look velvety and sophisticated. Neutral tones like beige, taupe, and blush work beautifully in this style, giving your manicure a unique texture.
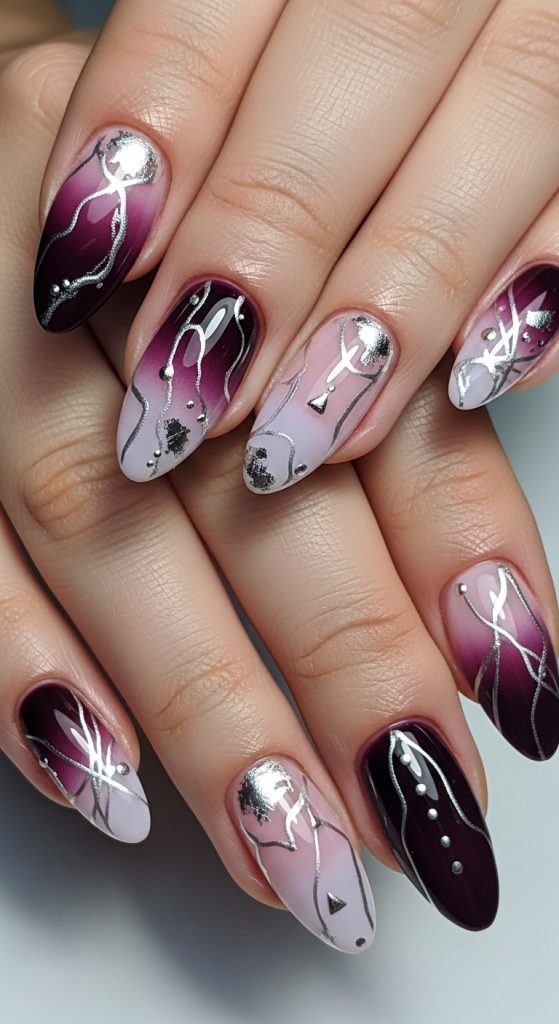
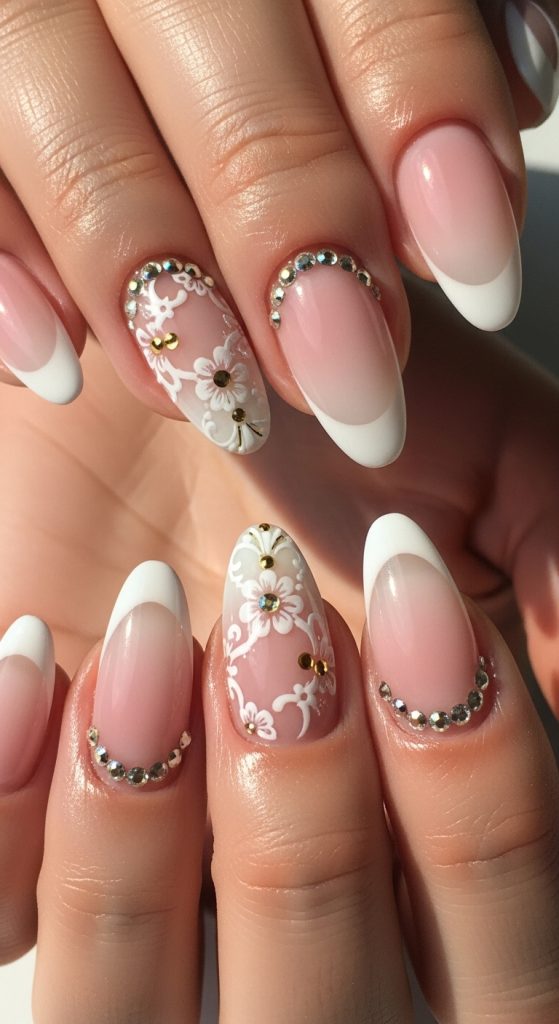
10. Ombre French Nails with Nail Art Accents
Enhance your ombre French nails with delicate nail art such as rhinestones, floral designs, or fine line details. A simple gradient can be elevated with a tiny gem at the cuticle or a subtle design on one accent nail, adding personality without overwhelming the look.
Why Ombre French Nails Are So Popular
Ombre French nails have gained popularity because they strike the perfect balance between classic and modern. The gradient effect softens the harsh lines of traditional French tips, making the nails look more natural and versatile. They can be customized in countless ways, from color combinations to finishes, allowing you to express your personal style.
Another reason for their appeal is their practicality. The blended design grows out more gracefully than a traditional French manicure, making it a low-maintenance option for those who want long-lasting beauty.
Tips for Achieving the Perfect Ombre French Nails
To get the best results, consider using a sponge technique or an airbrush tool to create a smooth gradient. Start with thin layers and build up the color gradually. Blending is key, so take your time to ensure there are no harsh lines.
Choosing the right color combination is also important. Neutral tones are great for a natural look, while contrasting shades create a bold statement. Don’t forget to seal your design with a high-quality top coat to enhance durability and shine.